Running databases on local computers is easy and sometimes sufficient enough at the development step. But, deploying most applications needs to run databases on a remote server. There are thousands of solutions for deploying databases remotely. This article shows you how to create a simple database on AWS EC2 services and remotely manage it.
This article is written for beginners who have no cloud database deployment experience. Also, as said, there are many cloud-based and non-cloud-based solutions to deploy databases. For example, AWS has a dedicated service, called AWS RDS, for deploying databases on Cloud. We will discuss some of these solutions in the future and compare them. For today, let’s go with deploying a MySQL database on an AWS EC2 instance.
STEP A: Launch an AWS EC2 instance.
To start, we need an AWS account. You can set up an AWS account for FREE in a few minutes.
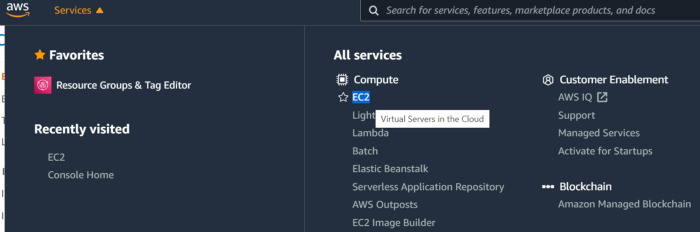
After creating your FREE AWS account and logging in, click on Services (next to AWS logo), and from the list, select “EC2” (i.e., stands for Amazon Elastic Compute Cloud which is a fancy word for a cloud computer).
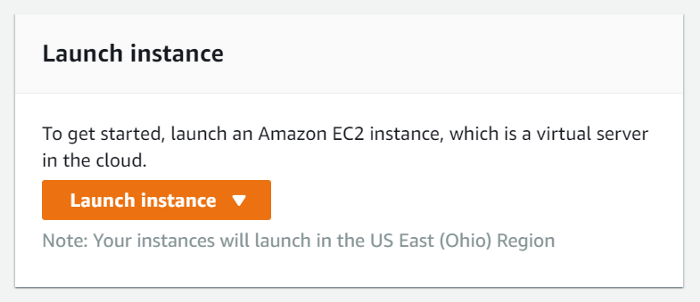
From the loaded page/dashboard, select “Launch instance.”
AWS shows you that you must follow 7 steps to launch an EC2 instance.

Step A1: Choose an Amazon Machine Image (AMI)
First, let’s choose an OS for our project. The best free choice for this purpose is Ubuntu Server 20.04, which is eligible for FREE Tiers.

Step A2: Choose an Instance Type
We don’t need a big machine to test the idea. Let’s go with a simple but FREE option like t2.micro. Later we can upgrade it if we want.
![]()
Click on Next to configure instance details
Step A3: Configure Instance Details
A crucial step, but for this demo, there is nothing really to change here. You are CRUSHING IT!!!
Step A4: Add Storage
Here you must set your storage size. To be eligible for Free Tier pricing, select 8GB (the default value). You may need to increase it later when working with bigger databases (and of course, you must pay for it).

Step A5: Add Tags
You can ignore this part too and jump to the next step.
Step A6: Configure Security Group
At this step, we should configure what ports on our EC2 instance should be exposed to the outside world (including you and your local computer). For the time being, we only open port 22 for connecting to our system through SSH (a secure protocol for interaction and data transfer between computers over the internet or a network). You can open different ports, such as HTTP or many others, based on your need. For our demo’s purpose, we only need to open the SSH port (i.e., 22).
Step A7: Review Instance Launch
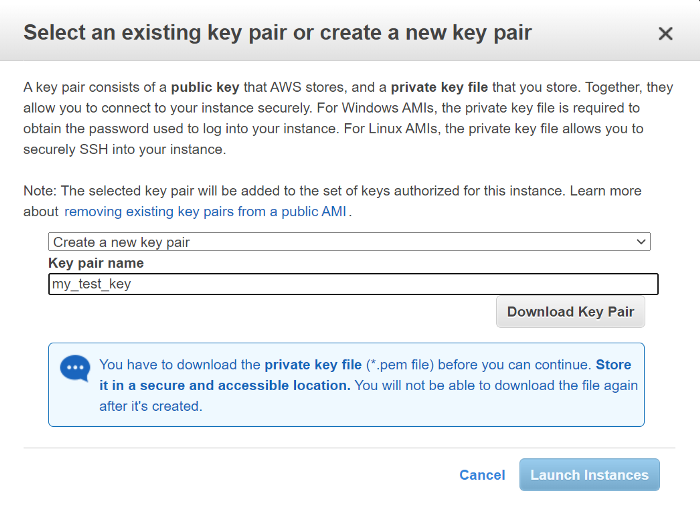
Double-check everything and click on the Launch button. In a second, a window will pop up and ask you to choose a key pair. A key pair enables you to connect to your EC2 system over the internet securely. A key is a .pem file that you must store in a secure place.
You have two options here. First, if you already have a key pair, you can use your existing key. The second option is to choose a new key pair. Here I generate a new key pair for this demo. I give it a name and “Download Key Pair” in a secure folder.
It takes a few seconds (sometimes minutes) that your new EC2 instance is ready to use. To check the status of your EC2 instance, click on Services (again next to AWS logo) >>> EC2 >>> Instances.
You will see a list of your instances (or one instance, if it is your first instance). Make sure that your instance is ready (see figure below).

WARNING: Remember to stop your instance or terminate it after you did your test (unless you decided to keep it). A running instance might be FREE for the trial period, but if you forgot to stop or terminate it, you will get a bill from AWS after your trial period.
Step A8: Connecting to your EC2 Instance
If your EC2 system is running, now you can select your instance and from the top menu select Actions >>> Connect.

Choose “SSH client” from the opened page, and you should see full instructions on how to connect to your instance. Here, I am following the same instruction.
Basically, you need a tool called SSH Client to connect to your EC2 machine securely. If you have a system with Linux, Mac, or Windows 10 (or higher), you must have “SSH Client” installed and ready to go. Some Windows users should enable/install SSH Client on their computer before start using it. Here is a link that shows how to do it.
Open a terminal and go to the folder that contains your AWS key file (.pem file). For me, I saved my key file (my_test_key.pem) inside a folder called.
test_mysql_aws

cd test_mysql_aws

chmod 400 my_test_key.pem

ssh -i “my_test_key.pem” ubuntu@ec2SSSSSS214.us-east-2.compute.amazonaws.com
Again, you can find full instructions when you click on Connect in your EC2 dashboard.
STEP B: Installing MySQL on your AWS EC2 instance.
If you successfully built and connected to your EC2 instance, it is time to install the MySQL Server on your instance. My preferred way is to use APT package repository management tool.
sudo apt update
sudo apt install mysql-server
As soon as your installation is complete, the MySQL server should run automatically. You can check it with the following command.
sudo systemctl status mysql
It must return some information about the MySQL server, such as Active: active (running). Let’s log in as root.
sudo mysql
You must set a password for your root now. Replace your_password_here with a strong password.
mysql> ALTER USER 'root'@'localhost' IDENTIFIED WITH mysql_native_password BY 'your_password_here';
mysql> FLUSH PRIVILEGES;
Now, let’s exit and log in with the root credentials.
mysql> exit
$ sudo mysql -u root -p
Enter your root password, and hopefully, you get back to your MySQL command line.
Summary
In this article, you start deploying a MySQL database on an AWS EC2 instance. You learn how to set up your EC2 instance, connect to it, install MySQL Server, configure your server.